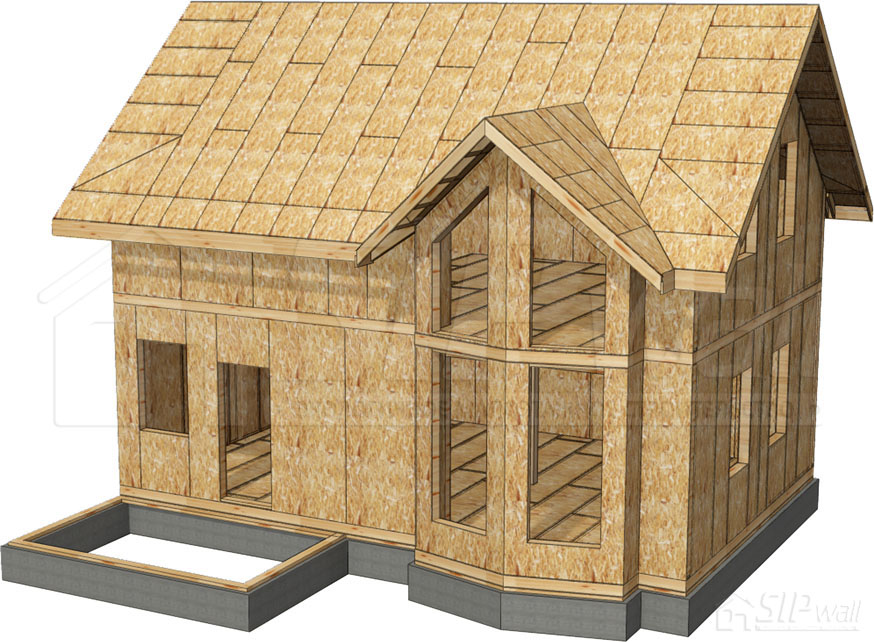
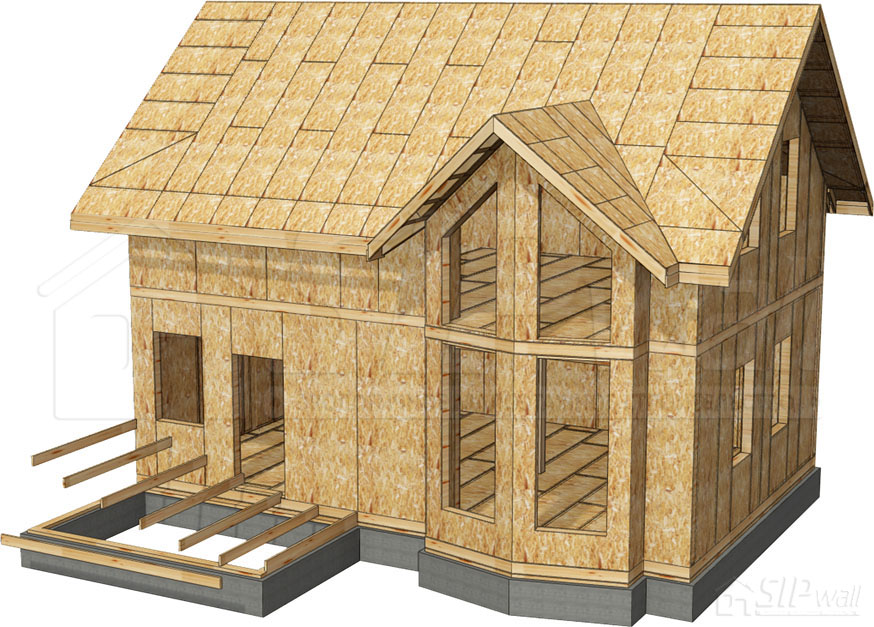
Assembling a porch or veranda
The veranda floor joists are set on a support board 40 × 150 mm, fixed to the grillage with screws 6 × 80 mm, 2 pcs. at a spacing of 1 m (if the joist span is less than 2000 mm). Fix the floor joists themselves with screws 90 mm (4 pcs. per bearing). The veranda floor joists are set on a support timber 80 × 150 mm, fixed to the grillage with screws 6 × 120 mm, 2 pcs. at a spacing of 1 m (if the joist span is greater than 2100 mm). The floor joists themselves are fixed with screws 90 mm (4 pcs. per bearing). The boards for the joists 80 × 150 mm and 80 × 200 mm are fixed together with screws 4,2 × 64 mm in a staggered pattern at a spacing of 150 mm. The joist spacing is taken from the calculation. For the main structural details, see Appendix No. 6. Technical Solutions Album – porches, terraces, balconies and canopies.
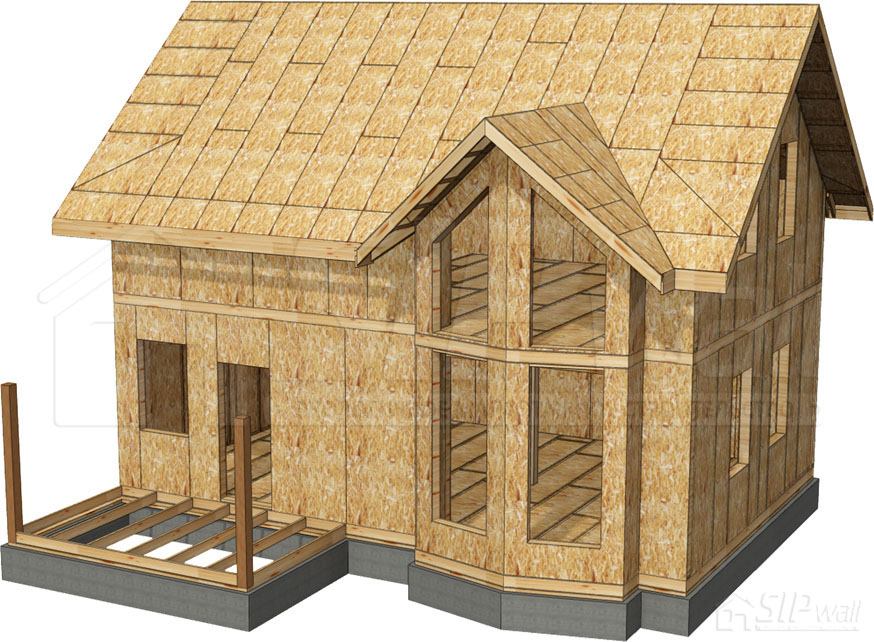
Posts are installed on the grillage with reinforced angle brackets KPW-4 (105 × 105 × 90 × 2,5 mm). Beams and posts are fixed to each other with reinforced angle brackets KPW-4 (105 × 105 × 90 × 2,5 mm) and screws 6 × 80 mm. At a support, beams are joined along their length with a metal plate 100 × 300 mm and screws 3,5 × 41 mm. A beam may be fixed to another beam with an OBR-R timber support 150 × 150 × 76 × 2 mm and screws 6 × 80 mm.
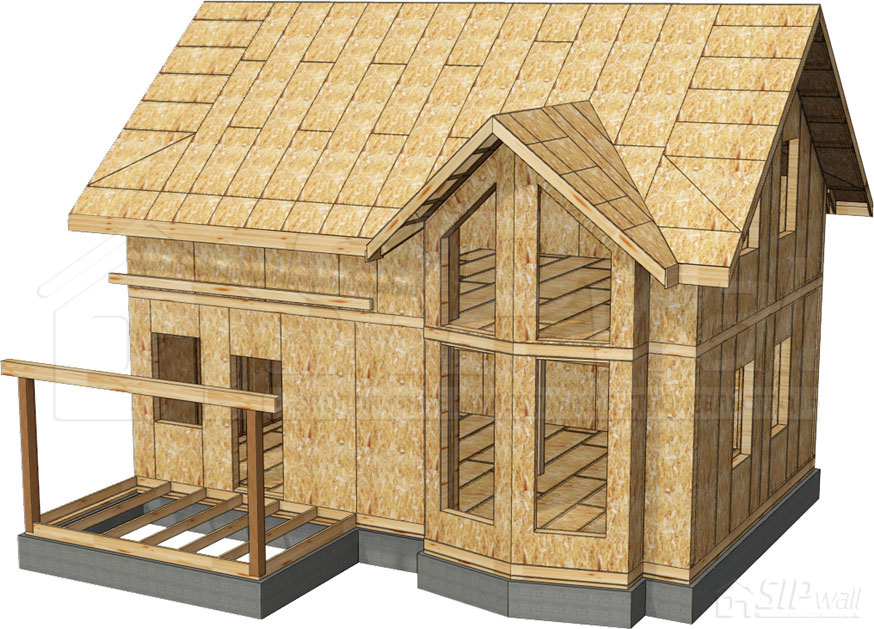
Rafters are fixed to the lower support with reinforced angle brackets KPW-4 (105 × 105 × 90 × 2,5 mm) and screws 3,5 × 41 mm. Blocking between the rafters is fixed with screws 4,2 × 90 mm, 4 pcs. per block. Double rafters are fixed together with screws 4,2 × 64 mm in a staggered pattern at a spacing of 150 mm. The eaves board is fixed to each rafter it crosses with two screws 4,2 × 64 mm. At a support, single rafters are fixed with screws 6 × 120 mm, 3 pcs. per detail, and double rafters are fixed with screws 6 × 160 mm, 3 pcs.
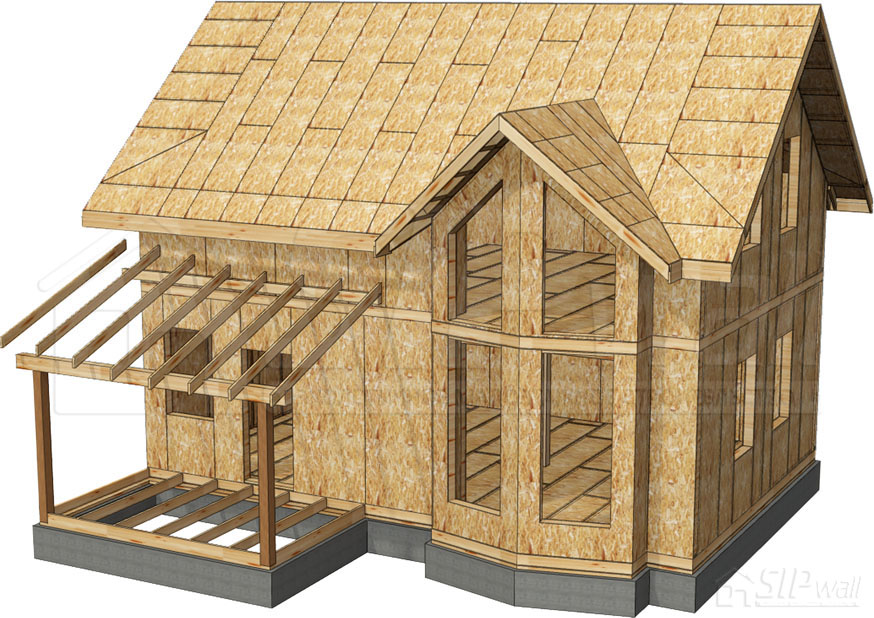
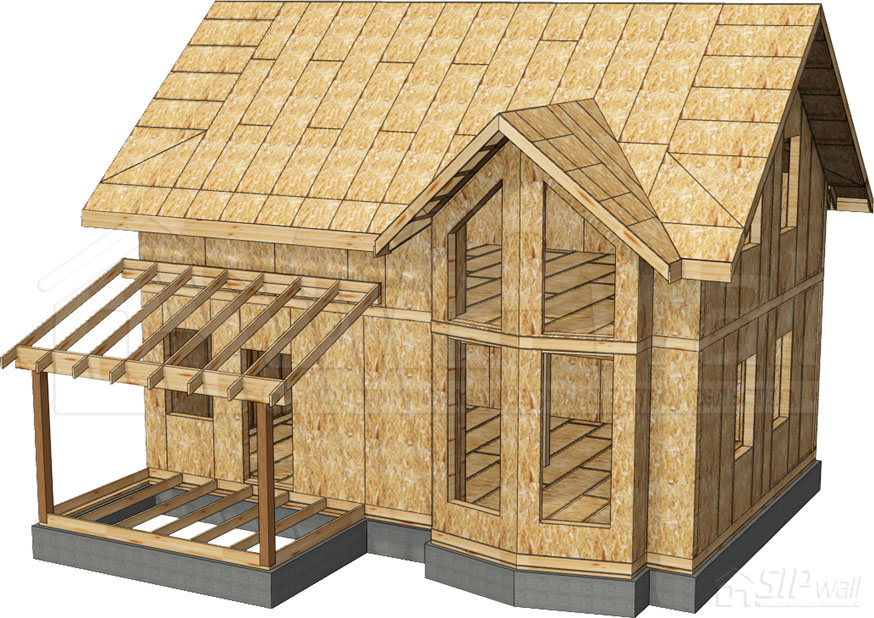
Before proceeding to the next stage of construction, the installation of the structure must be inspected in accordance with technical supervision (Appendix No. 1. Technical Supervision of the Construction of a SIP Panel House Using SIPwall Technology).
Book contents