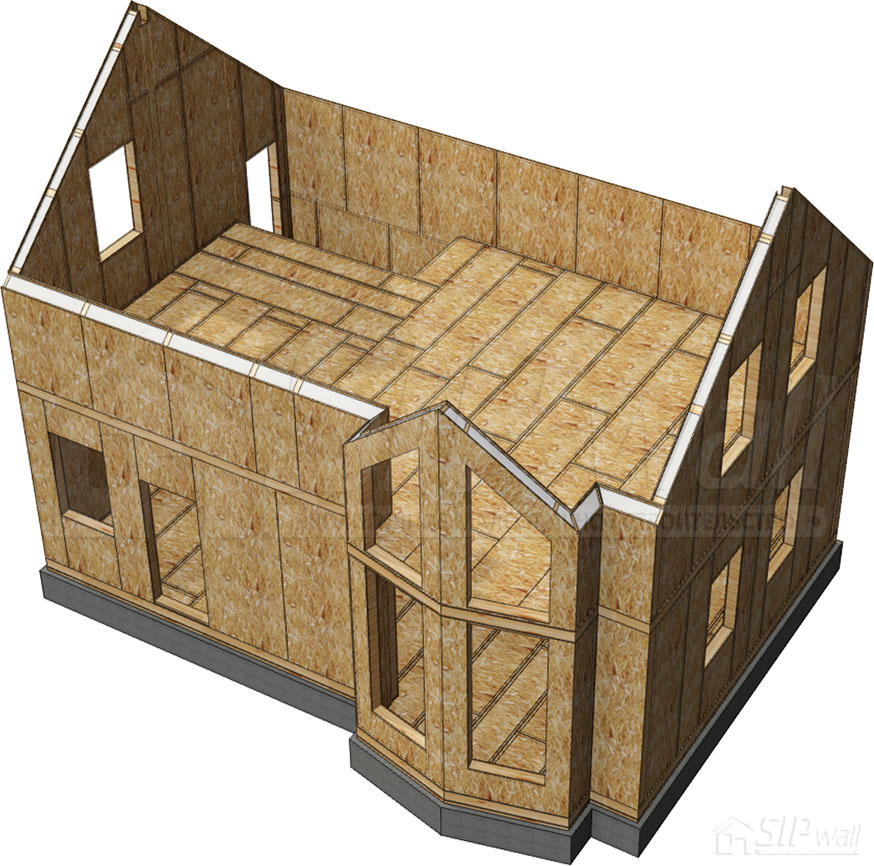
Assembly of wall panels on floor 2
Wall assembly begins with studying the layout and marking scheme of the wall panels. The corner panels of two adjacent walls are placed on the bottom plate. The bottom groove of the wall panel is filled with mounting foam. Next, the wall panel (Psn) is placed on the bottom plate, strictly flush with the floor panel (PP). The panel is fixed to the bottom plate with 3,5 × 41 mm screws at 150 mm spacing. A vertical end timber of 74 × 147 mm is nailed to the installed panel, and the contact point between the board and the panel is treated with mounting foam. Before the next panel is installed, the end tongue and the bottom plate are treated with mounting foam. Then the two corner panels are drawn together with JD plus 8 × 240 mm screws or equivalents at 400 mm spacing (figure 45). Next, the wall panels continue to be added around the perimeter of the house in both directions toward the last corner chosen in advance. The panels are fastened to each other with 3,8 × 41 mm screws, and the corners are fastened with JD plus 8 × 240 mm screws or equivalents. Before joining, the groove of the panel being inserted is filled with mounting foam. For the main structural details, see Appendix No. 2. Album of Technical Solutions – SIP Panel Structural Details: Assembly of Joints of the House's SIP Wall Panels and Frame Walls.
Before proceeding to the next stage of construction, the installation of the structure must be inspected in accordance with technical supervision (Appendix No. 1. Technical Supervision of the Construction of a SIP Panel House Using SIPwall Technology).
Book contents