Installing posts and beams inside the house
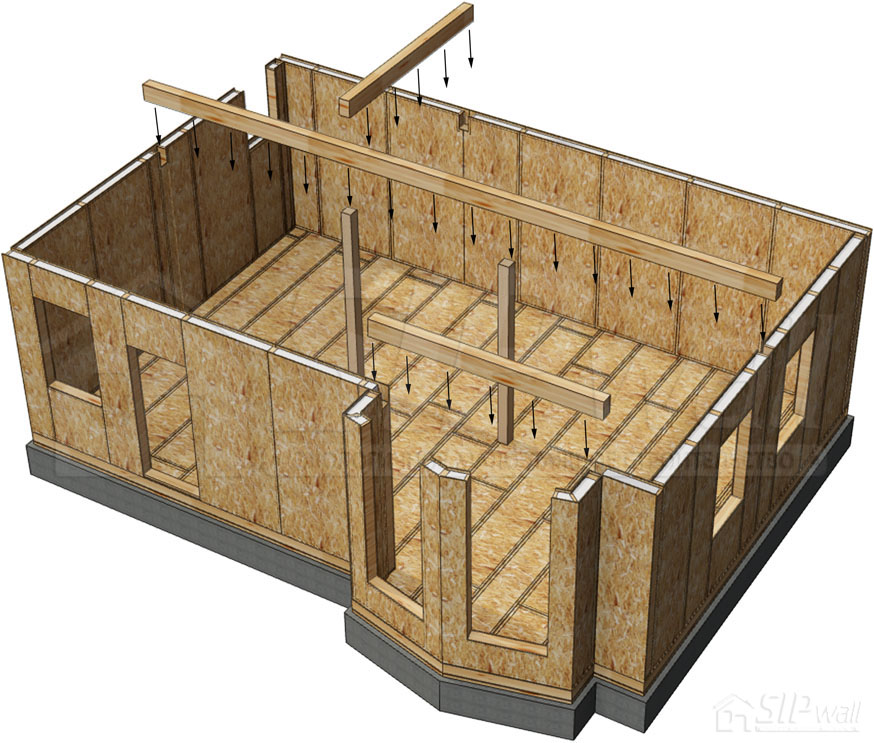
Installation of posts and beams begins with studying their layout and marking scheme. The posts are fixed to the built-in floor joists (or tongue-and-groove joints) with reinforced KPW-4 brackets (105 × 105 × 90 × 2,5 mm) and 6 × 80 mm screws (10 pcs. per bracket).
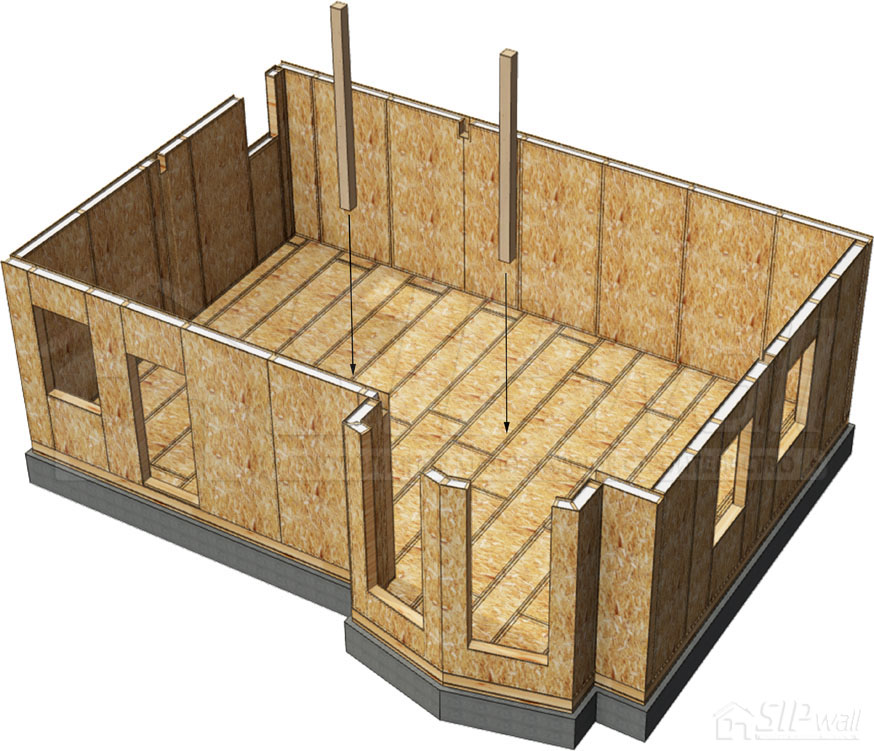
For the beams, posts are built into the load-bearing SIP panels at the factory and sockets are made. Beams and posts are fixed to each other with reinforced KPW-4 brackets (105 × 105 × 90 × 2,5 mm) and 6 × 80 mm screws. Beams on a support are joined lengthwise with a 100 × 300 mm metal plate and 3,5 × 41 mm screws. A beam can be fixed to another beam with an OBR-R timber support 150 × 150 × 76 × 2 mm and 6 × 80 mm screws. For the main structural details, see Appendix No. 2. Album of Technical Solutions – SIP Panel Structural Details: Installing Beams and Posts.
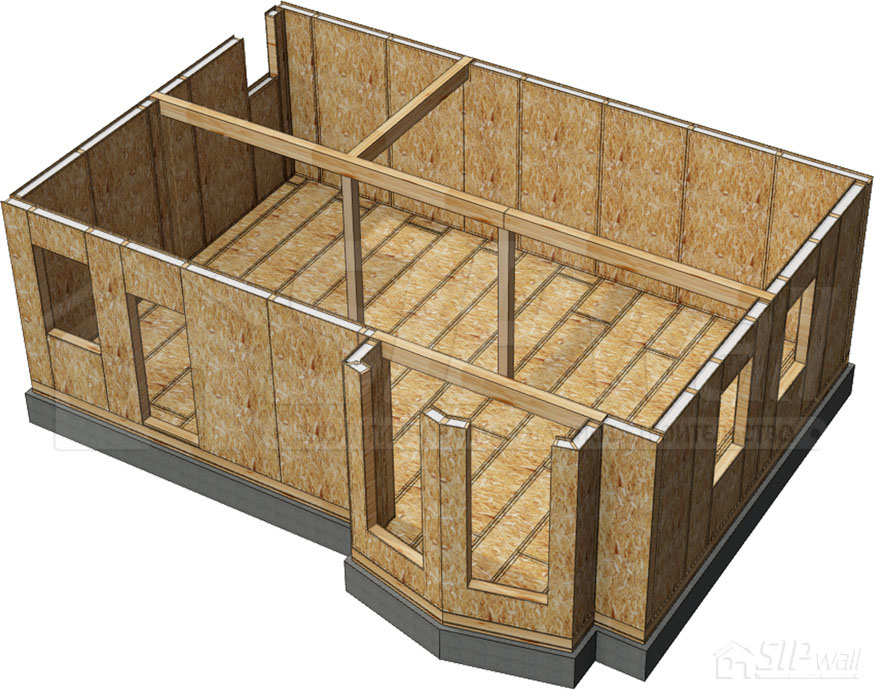
Before proceeding to the next stage of construction, the installation of the structure must be inspected in accordance with technical supervision (Appendix No. 1. Technical Supervision of the Construction of a SIP Panel House Using SIPwall Technology).
Book contents