.127b20a60a9a.jpg "Wet facade technology using POLARPLAST expanded polystyrene")
A non-ventilated facade, as the name suggests, has no ventilation gap between the cladding and the wall. Together they form a monolithic covering. Building a wet facade is the process of creating a structure from several elements, which are layers with specific functions. They are conventionally divided into the adhesive (base), thermal insulation, reinforcing, and protective-decorative layers. With such a facade system, even with sharp temperature fluctuations and a large temperature difference between the inside and outside, no condensation will form inside the house.
- We move on to installing the wet facade itself. The first stage is preparing the base for bonding the POLARPLAST expanded polystyrene. The base for bonding must be solid and level. To achieve this, a universal primer is applied to the base.
-
After a few hours, you can start bonding the PolarPlast expanded polystyrene. Apply mounting adhesive to the surface of the polystyrene board (generously around the perimeter). Then simply bond it in the chosen place. Applying mounting adhesive to the edges of the boards (the joints) is prohibited.
- After 24 hours, work can continue. Gaps left where the polystyrene boards meet must be sealed with adhesive foam. Next, the polystyrene boards should be fixed mechanically with thermal dowels. It is recommended to fix 5-6 dowels per 1*2 board.
-
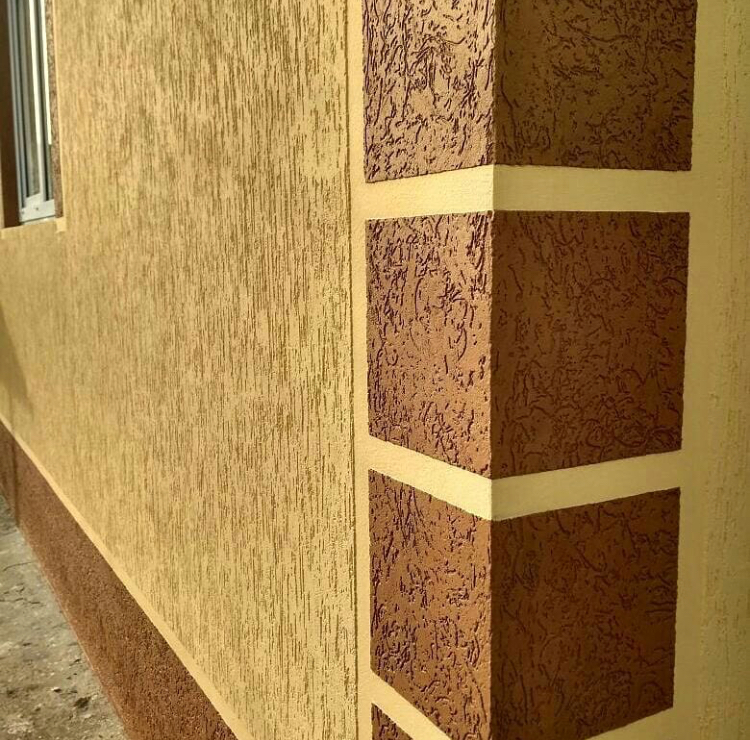
After 24 hours, start applying the reinforcing layer. Using a notched trowel, mounting adhesive is applied to the surface of the foam. Then the plaster mesh is bonded in place. The surface is leveled with a trowel (the mesh is bonded with a 10 cm overlap). Then we apply a leveling layer of adhesive mixture 2 mm thick. After 24 hours, we move on to applying the decorative plaster, for example “bark beetle” or “fur coat”.
-
We apply the plaster to the surface and do a preliminary leveling. Depending on the weather, we take a break of 10-30 minutes before forming the decorative pattern. Then we form the pattern with a plastic float. The most popular are the so-called “rain” and “lamb”. The facade can be put into use if the plaster is colored. If painting is required, it can be done after 3-5 days.
In summary, a non-ventilated facade can be installed in just 4 days. PSB-S-25F expanded polystyrene under the POLARPLAST trademark is a high-quality material designed for facade work.
With our insulation, your facade will last a long time!